Audiomack is one of the most popular music streaming platforms, offering a vast selection of tracks across various genres. Many music lovers find themselves wanting to set their favorite Audiomack songs as ringtones on their smartphones. However, setting a song from Audiomack directly as a ringtone is not a straightforward process due to platform restrictions and compatibility issues.

In this guide, we'll show you how to set Audiomack songs as ringtones on both iPhone and Android devices, step by step.
Part 1. Can You Directly Set Audiomack Songs as Ringtones?
The short answer is no. Audiomack does not offer a direct way to download songs and set them as ringtones. This limitation is mainly due to licensing agreements and copyright protections that prevent users from downloading songs freely. Additionally, the songs you stream on Audiomack are in formats that are not compatible with the ringtone settings on most smartphones.
But don't worry, there are workarounds that allow you to convert your favorite Audiomack songs into ringtones. Let's explore the best way to do this.
Part 2. Best Way to Make Audiomack Song Your Ringtone
To make an Audiomack song your ringtone, you'll need to record the song and then convert it into a format that your device can use. Here's how you can do that with ease using ViWizard Audio Capture.
Key Features of ViWizard Audio Capture
Free Trial Free Trial* Security verified. 5, 481,347 people have downloaded it.
- Record any audio from streaming services, live broadcasts, and system sounds
- Support multitrack recording and save files in MP3 and more formats
- Automatically detect and retain ID3 tags while allowing manual editing
- Offer flexible audio splitting and merging tools for full customization
How is ViWizard Audio Capture Going to help?
ViWizard Audio Capture is a powerful tool for recording any audio playing on your computer, making it perfect for capturing music from streaming platforms like Audiomack. With it, you can record high-quality audio from Audiomack, convert the audio into ringtone-friendly formats like MP3, M4A, or M4R (for iPhone), edit and trim the recording to the desired ringtone length, and even keep the original song's metadata, including the title and artist information. This makes it a simple yet effective solution for converting your favorite Audiomack songs into ringtones for your phone.
How to Make Audiomack Song Your Ringtone with ViWizard
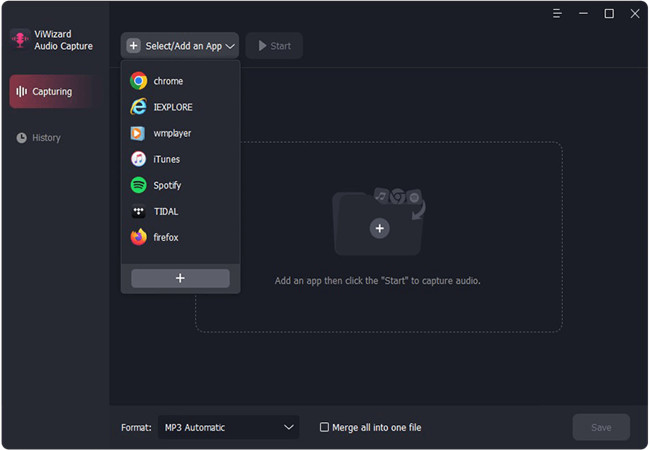
Step 1 Install ViWizard Audio Capture and Choose Audiomack as Your Browser
Download ViWizard Audio Capture from its official website. Next, click on "Select/Add an app" in the top left corner and choose the Audiomack website from which you want to record audio. If it's not listed, don't worry, simply drag and drop its icon from your desktop into the ViWizard main window.
Step 2 Customize the Output Audio Settings
Click the "Format" button located at the bottom left to select your desired output format, such as MP3 or WAV. You can also customize optional settings like sample rate and bit rate here.
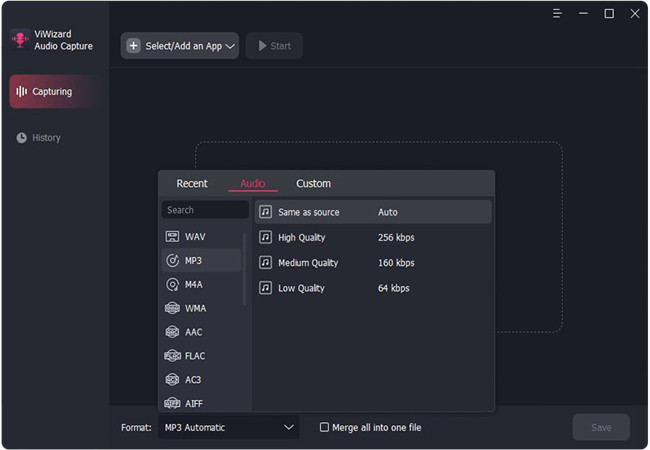
Not all kinds of devices require the same format for ringtones. iPhone support ringtones in M4R format, while Android supports more choice, such as MP3 and M4A.
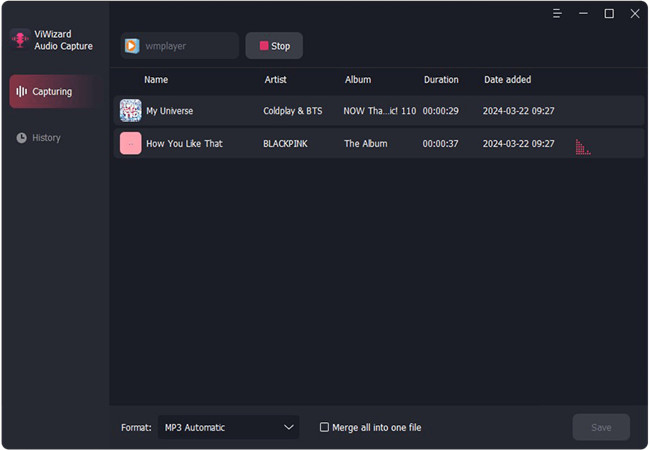
Step 3 Capture the Target Audio from Audiomack
Once everything is set, click "Start" to begin recording. ViWizard will open Audiomack for you, and as the audio plays, it will automatically detect and capture the sound. When you're finished, click "Stop," and the recorded audio will appear in the Capture list.
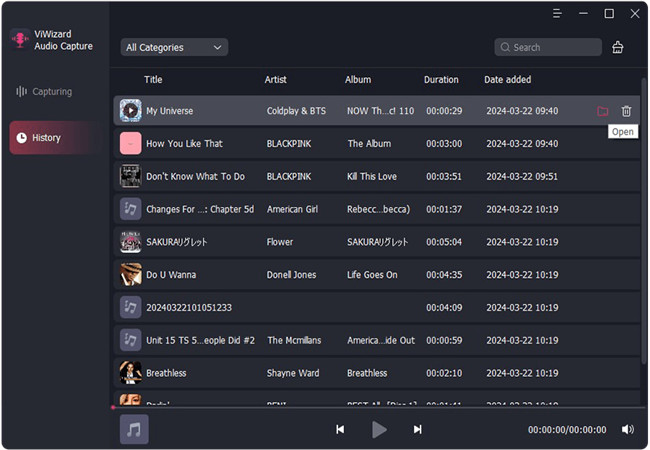
Step 4 Edit and Save the Audiomack Audio
If you need, you can edit the captured audio by trimming it or making other adjustments. Once you're satisfied with the changes, make sure to click "Save" to download the file to your device. All captured audio will be stored in the "History" section for easy access.
Part 3. How to Set Audiomack Song as Ringtone on iPhone
Now that the preparatory steps are complete, we can move on to setting the audio as a ringtone. For iPhone users, a widely-used method to do this is via iTunes, this is a simple and effective option to get your custom ringtone set up.
Here's the Steps:
Step 1. Import the Audio in iTunes and Make Edit
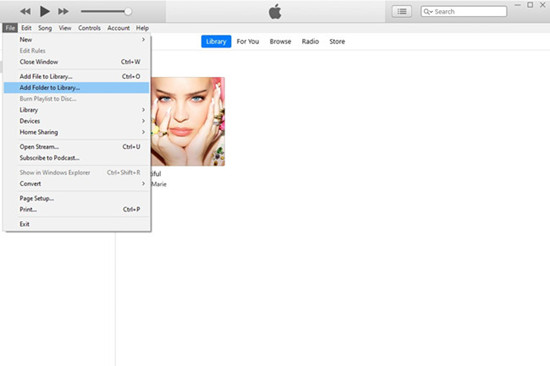
Launch iTunes on your computer and click on "File" in the top left corner of the main interface. From the drop-down menu, select either "Add File to Library" or "Add Folder to Library. Next, navigate to the captured Audiomack audio in a supported format and select it. Keep in mind that iTunes accepts audio files imported in MP3, AIFF, or WAV formats.
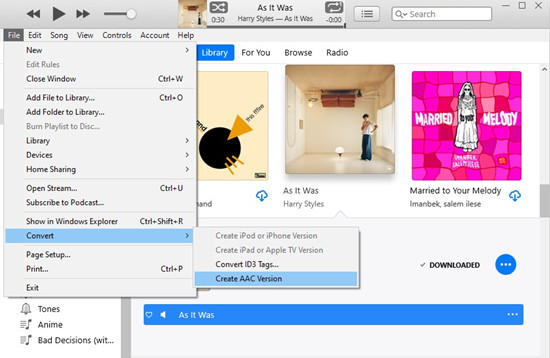
Once the Audiomack audio is imported, locate it in your iTunes library. Then, click on "File," navigate to "Convert," and select "Create AAC Version." This will generate a shorter AAC version of the audio, which will appear next to the original track in your library.
Step 2. Convert to M4R Format and Transfer it into your iPhone
Navigate to the media folder where the file is stored, or alternatively, you can right-click the file in iTunes. From the pop-up menu, select "Show in Windows Explorer," and the file path will be displayed.
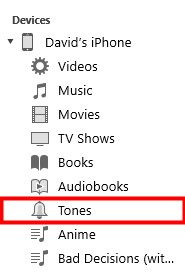
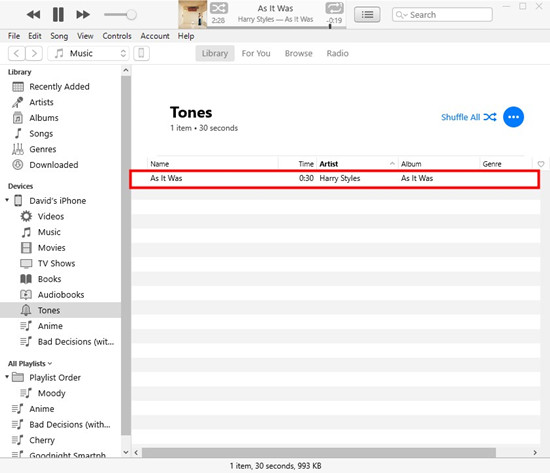
Next, rename the file to change the format from M4A to M4R, as iPhone ringtones require the M4R format. And then, connect your iPhone to your computer using a USB cable, and you will see your device's information appear in the left-hand menu of iTunes. At last, just click on "Tones," then drag and drop the renamed .m4r ringtone file into the "Tones" section. The ringtone will then be transferred to your iPhone.
Step 3. Set the Ringtone on iPhone
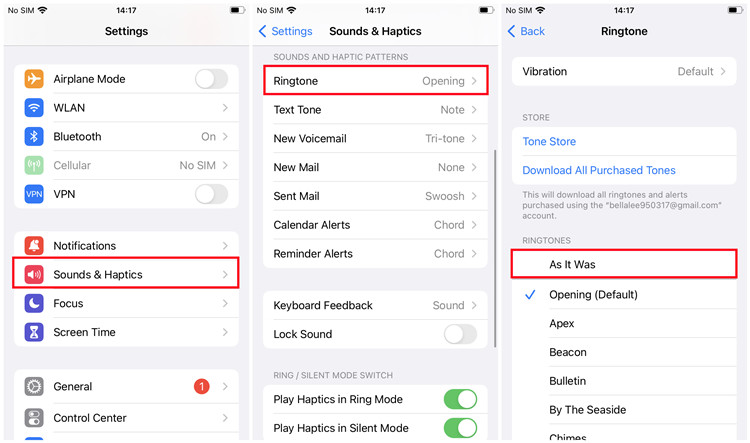
Open the "Settings" app on your iPhone and scroll down to find the "Sounds & Haptics" section. And then tap on "Ringtone" to view all available ringtones. Next, click on the "Edit" icon next to the play button. Finally, find and select the ringtone you just imported to set it as your default ringtone.
Part 4. How to Set Audiomack Song as Ringtone on Android
It is actually, pretty much easier to set the converted audio as ringtone on Android than it is on iPhone.
Here's How:
Step 1. Transfer the Downloaded Audio into Your Android Device
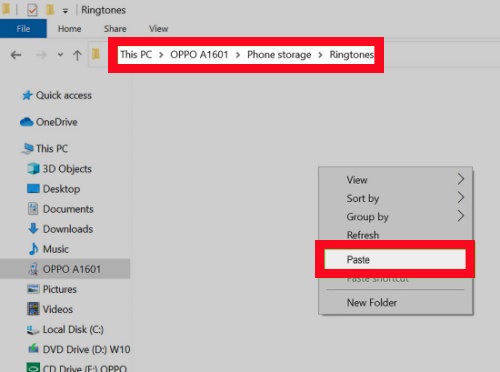
Before transferring, ensure that the edited audio file is in a format compatible with Android devices, such as MP3, WAV, or OGG. Then, connect your Android device to your computer using a USB cable. Next, open File Explorer on your computer and locate the audio file. After that, copy the audio file from your computer and paste it into the "Ringtones" folder on your Android device.
Step 2. Set the Ringtone on Your Android
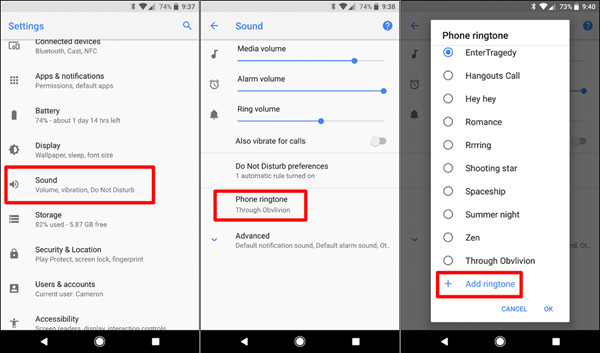
First, go to "Settings" on your device. Scroll down and select "Sound & Vibration" from the options. Next, tap on "Phone ringtone" to view the list of available default ringtones. And then, scroll down and click on "Add ringtone." Then, select the desired music file by tapping on it to set it as your new ringtone.
Final Words
Now that you know how to set Audiomack songs as ringtones on both iPhone and Android devices, you can enjoy your favorite tracks every time your phone rings. So next time you hear by chance, an Audiomack song you favor and think is likable as your ringtone, you know how to do. Just resort to ViWizard, it will absolutely not let you down.
You May Be Interested


Matt Smith, a digital entertainment industry enthusiast at ViWizard, is dedicated to providing insightful commentary and solutions for music and media-related topics, including industry trends, analysis, and recommendations.
Leave a Comment (0)