- User from Quora.
Among the most popular music streaming services, Apple Music is absolutely one of them. This is s an ad-free subscription service, which offers a $10.99 individual plan, a $16.99 family plan for 6, and a $5.99 student plan. In fact, users are also given a three-month free trial to test and use the app on the desktop, iOS device, or Android device. However, once your trial version comes to an end or you cancel the subscription, all your Apple Music tracks will be gone. Do you want to permanently save Apple Music files on your computer or iPhone device? This article will show you how to keep Apple Music songs forever with ease.
Part 1. Will I Lose My Music If I Cancel Apple Music?
When you subscribe to Apple Music, you gain access to a vast library of songs, create playlists, and download tracks for offline listening. But, if you ever cancel your subscription, you not only lose access to your online streaming library but also to all the songs you've downloaded for offline listening. This means your carefully curated playlists disappear along with your ability to play the music you've downloaded. They may not be gone instantly, but soon you'll find out. And you'll need to reactivate your subscription in time to get them back. If you wait too long, you risk losing everything.
Playlist is gone from Apple Music? Try these 10 solutions introduced this article. With those solutions to fix Apple Music playlist gone and prevent them from disappearing any more.
Part 2. How to Keep Apple Music After Cancelling a Subscription
So, how can you ensure you keep your downloaded music, even if you decide to stop using Apple Music? It all comes down to something called DRM, which acts like a lock preventing you from playing your downloaded songs without a subscription.
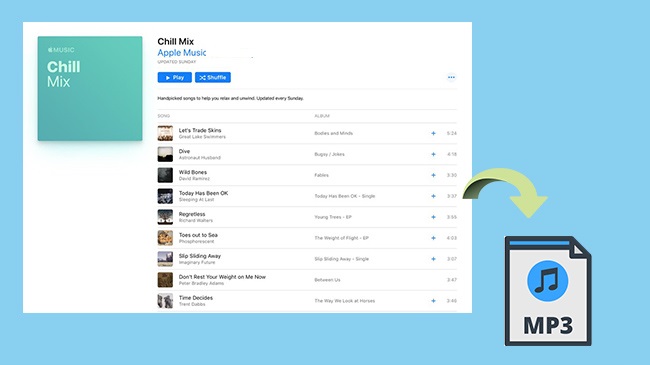
To keep your music forever, you'll need to unlock this DRM protection. That's where ViWizard Apple Music Converter comes in. This tool cracks the lock and lets you save your music in formats like MP3 or AAC, making it playable on any device, even if you're no longer using Apple Music.
Why Use ViWizard Apple Music Converter?
ViWizard Apple Music Converter offers a simple yet powerful solution for preserving your Apple Music collection. With its DRM removal feature, ViWizard stands out as the top choice for converting Apple Music songs into common audio formats like MP3 and many more. This means you can easily play your music on any device or media player without limits. Just select your preferred output format and click to convert. Plus, it works up to 30 times faster than other methods, saving you time and hassle.
But ViWizard doesn't stop at Apple Music. It also lets you download iTunes music, podcasts, audiobooks, Audible audiobooks, and even your own files. And the best part? ViWizard maintains the original audio quality and keeps all your song information intact. With ViWizard, you keep your Apple Music safe with you anytime, anywhere, even without a subscription. Later, you can transfer it to the storage device or service of your choice.
ViWizard Apple Music Converter is available on both Windows PC and Mac, just download the correct version and you can try to download Apple Music songs to audio files from iTunes. By following these steps, you can keep the downloaded songs from Apple Music forever, ensuring that you always have access to your favorite music or important recordings.
Key Features of ViWizard Apple Music Converter
Free Trial Free Trial* Security verified. 5, 481,347 people have downloaded it.
- Convert Apple Music songs, albums, playlists, and artists into MP3 for easy access
- Preserve lossless audio, high-resolution lossless, and Dolby Atmos quality
- Strip DRM from Apple Music for unrestricted offline listening
- Save converted audio files while retaining full ID3 tag details
Step 1Launch ViWizard and Add Downloaded Apple Music Files
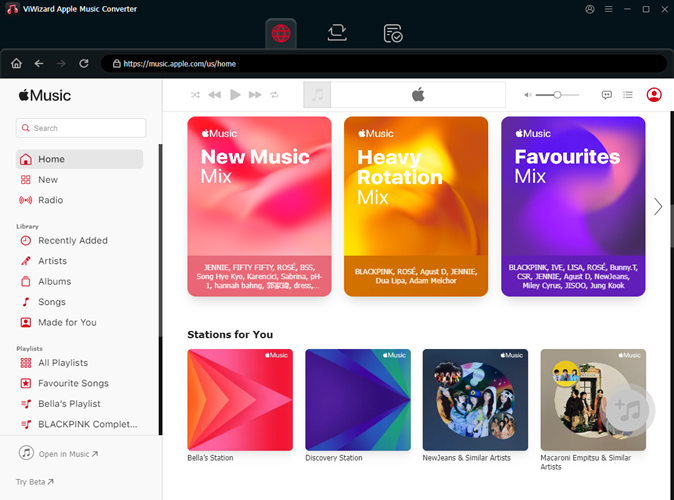
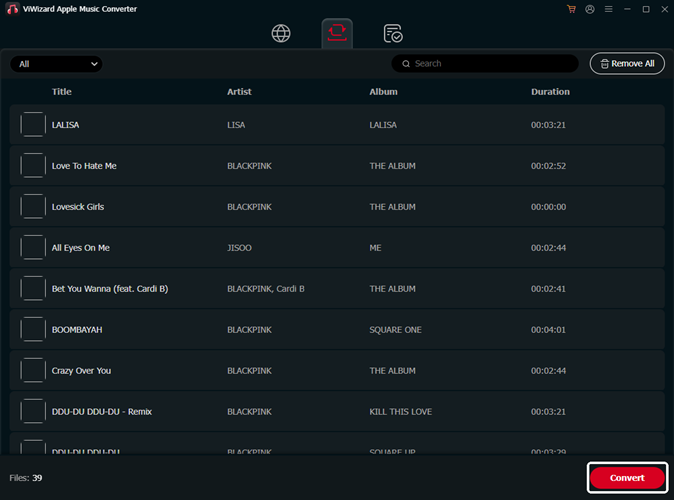
ViWizard Apple Music Converter is available for both Windows and Mac platforms, you can click the Download link above to install the right version on your computer. After that, just double click the software icon on the desktop and launch the ViWizard application. Then click the Music Note button on the top and you're required to select the Apple Music songs from iTunes library. Choose your target ones and click the OK button to load them to the software. Alternatively, you can simply drag the Apple Music files and drop them to the converter.
Step 2Select Output Preferences
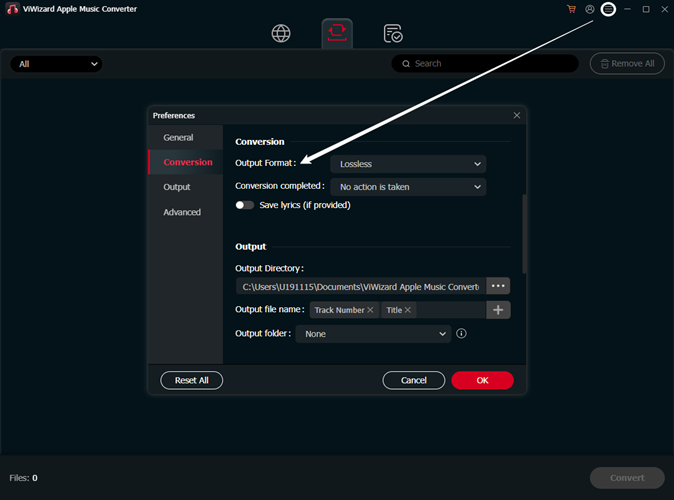
Next, press the Format button at the bottom left corner of the interface and choose an output format you want, such as MP3, WAV, M4A, M4B, AAC, and FLAC. You can also customize the output audio parameters like codec, channel, bit rate, and sample rate based on your requirements.
Step 3Remove DRM and Convert Apple Music Songs
Now click the Convert button at the lower right corner after all settings are set. ViWizard will start to remove the DRM and convert Apple Music files to MP3 or other common media formats immediately. All the converted files will be saved on the local folder of your computer. You can click the Converted button to find them and keep them forever.
Part 3. How to Keep Apple Music Forever
Once you've sorted your Apple Music files by artists or albums during conversion, it's time to securely store them for long-term access. Consider these simple tips:
- Choose a Reliable Storage Device on Your Computer: Pick a dependable and spacious storage device on your computer. Ensure it has enough room for all your Apple Music files and is known for its durability.
- Organize Your Music Files: Keep your Apple Music files organized on your computer. Label them clearly so you can find them easily when you need to. This makes it simpler to manage your collection and know what's been backed up.
- Protect Your Files: Use antivirus software to protect your computer and your music files from harm. Keeping your device safe ensures your music stays secure.
-
For Computer
Computer users have the advantage of easily managing their offline Apple Music collection. For example, you can organize it saved on local storage or merge them with your music library within the Apple Music app, such as iTunes or Music app.
Option 1: Merge with iTunes
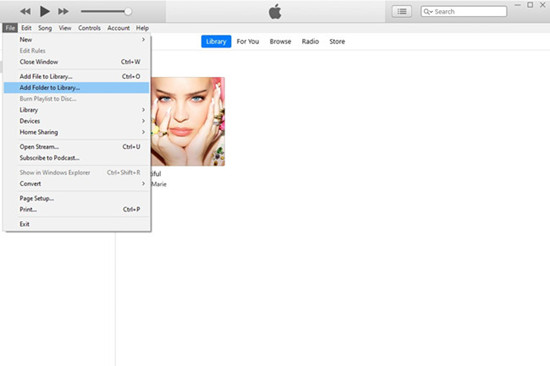
- Open iTunes on your computer.
- Go to "File" > "Add File to Library" or "Add Folder to Library," depending on whether you want to add individual files or entire folders.
- Navigate to the location where your converted Apple Music files are saved and select them.
- Click "Open" to import the selected files into iTunes.
- Once imported, your converted Apple Music files will be available alongside your existing library in iTunes, ready to be organized and enjoyed.
 How to Add Local Files to Apple Music on Multiple Devices
Apple Music is a great tool for listening music. Do you know how to put local files to Apple Music? If you want to know how, just follow this article."
Option 2: Store Locally
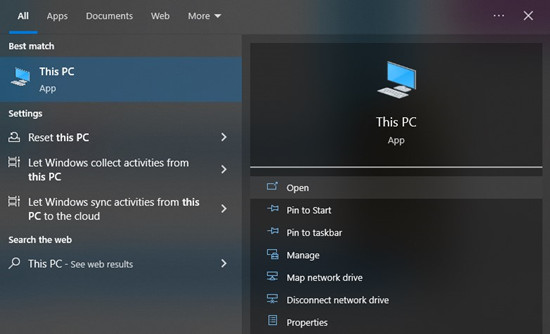
- Create a dedicated folder on your computer where you want to store your converted Apple Music files.
- Copy or move your converted Apple Music files from their current location to the newly created folder.
- To access your music, simply navigate to the folder you created and double-click on the desired file to play it using your preferred media player.
-
For USB Storage
If you choose to store your music on a USB drive, you have more portability and flexibility.
Transfer to USB Drive:
- Connect your USB drive to your computer's USB port.
- Open File Explorer (Windows) or Finder (Mac) and locate your converted Apple Music files.
- Select the files you want to transfer to the USB drive.
- Right-click on the selected files and choose "Copy" from the menu.
- Navigate to your USB drive in File Explorer or Finder.
- Right-click in an empty space within the USB drive window and choose "Paste" from the menu.
- Wait for the files to finish copying to the USB drive.
- Once the transfer is complete, safely eject the USB drive from your computer.
- Connect the USB drive to any USB-compatible device, such as a game console or smart TV.
- Use the device's media player to access and play your converted Apple Music files without the need for an internet connection.
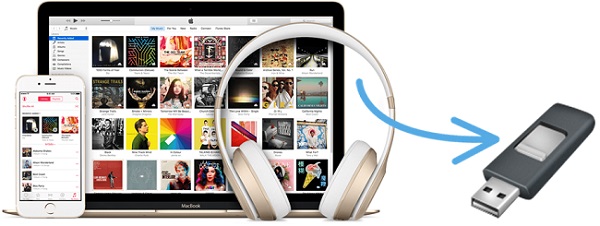 Best 3 Ways to Copy Apple Music to USB Drive
This is a guide to transfer Apple Music to USB flash drive by converting Apple Music to MP3 with ViWizard Apple Music Converter so that you can play Apple Music on the car radio or elsewhere freely.
-
For Cloud Storage
Cloud storage services offer convenient access to your music from any device with an internet connection. You've got choices like Google Drive, Dropbox, and more. Here's how you can take advantage of Google Drive:
Option 1: Upload to Google Drive
- Open your web browser and navigate to Google Drive (drive.google.com).
- Sign in to your Google account, or create one if you don't have one already.
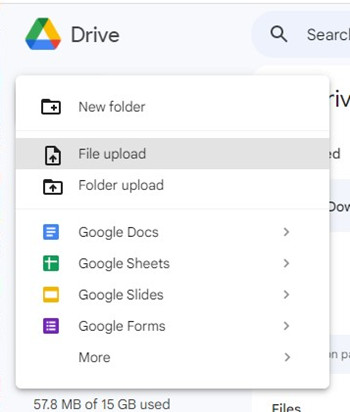
- Click on the "New" button and select "File upload" or "Folder upload," depending on whether you want to upload individual files or entire folders.
- Navigate to the location on your computer where your converted Apple Music files are saved.
- Select the files or folders you want to upload and click "Open" to start the upload process.
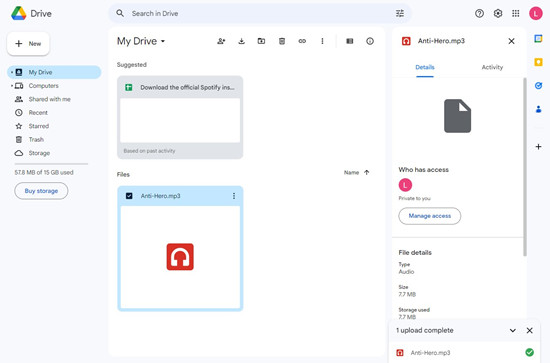
- Once the upload is complete, your Apple Music files will be stored securely on Google Drive, ready for access from any device with an internet connection.
Option 2: Sync Across Devices
- Install the cloud storage app of your choice on all devices you want to sync with.
- Sign in to your account within the app on each device.
- Enable automatic syncing or select the folders containing your Apple Music files to sync across devices.
- Once syncing is enabled, your Apple Music files will automatically be updated and available on all connected devices whenever changes are made.
Summary
Your Apple Music song will be deleted after your subscription is expired. So how to save songs from Apple Music? The answer is ViWizard Audio Converter. You can use this tool to download Apple Music to MP3 for saving on your device forever. Once the conversion is done, you can also transfer the well-converted Apple Music songs to other places without limit. If you want to learn more about ViWizard Audio Converter, click the download button to start a free trial.

Leave a Comment (0)