While Apple Music completes its music service with all-the-best combination of the songs users own with Apple Music streaming catalog, common thing is there are loads of songs with duplicate album artworks, which can confuse a lot.
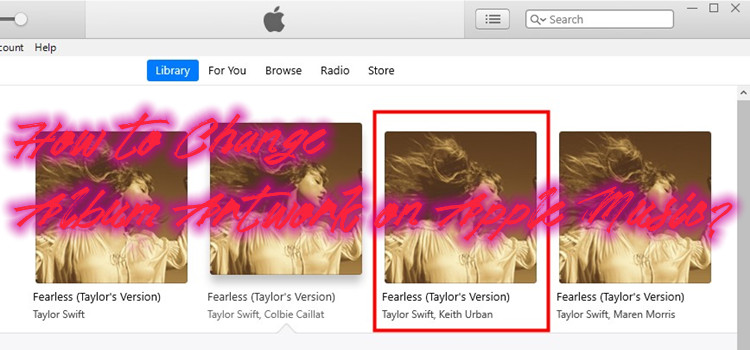
Tired of all the duplicate album art on Apple Music and want a change that make sense? Or some music tracks have missed their album arts on Apple Music? This article will tell two available methods for how to change album art on Apple Music. Reading on to find out how.
Part 1. How to Change Apple Music Album Artwork
1.1 Using Apple Music App:
If you're on a Windows PC or a Mac, updating your album artwork on Apple Music is a breeze through the Apple Music app. Follow these straightforward steps:
Change Apple Music Album Art on Computers with Apple Music:
-
For Windows PC:
- Open iTunes on your desktop.
- Navigate to the album you wish to customize.
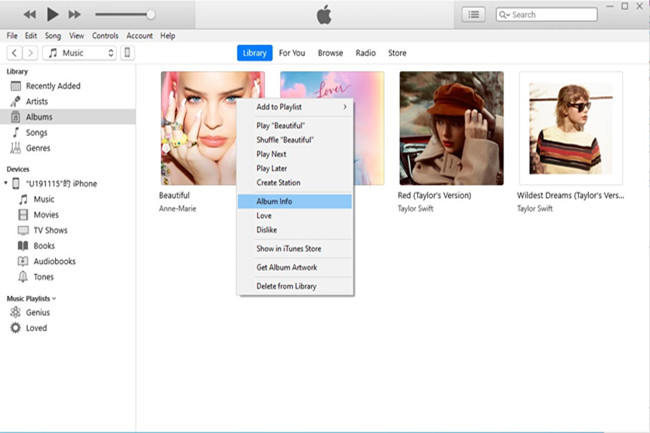
- Right-click on the selected album to access the options menu.
- Choose "Album Info" to open the detailed album window.
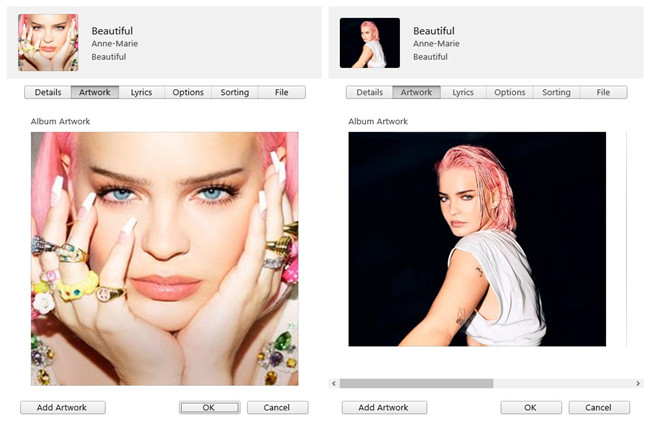
- In the pop-up window, click on "Artwork" at the top to view the album artwork in a larger size.
- Click the "Add Artwork" button at the bottom to select a local image and update the album artwork.
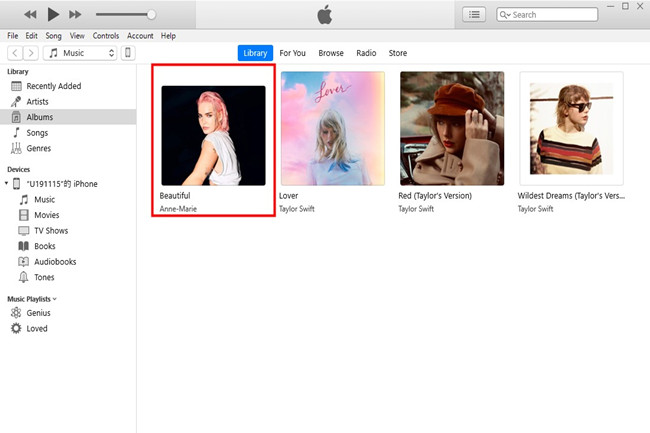
- After adding the artwork, click "OK" to save the changes or click "Add Artwork" again to choose another picture. Alternatively, click "Cancel" if you decide not to proceed.
-
For Mac:
- Launch the Apple Music app on your Mac.
- Locate the album you want to customize.
- Control-click on the album and select "Get Info."
- Head to the "Artwork" tab within the "Get Info" window.
- Click "Add Artwork" to insert a new image or select existing artwork, then press "OK" to confirm.
- Close the "Get Info" window, and your album artwork will be promptly updated.
Change Apple Music Album Art on Phone with Apple Music:
After successfully updating the album art in iTunes, follow these steps to ensure the changes reflect on your iPhone or iPad:
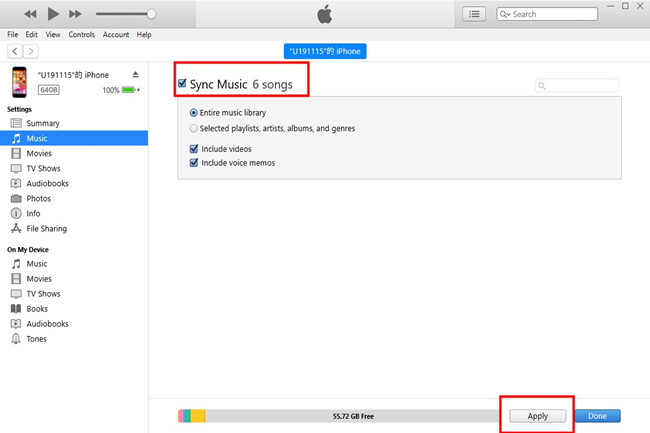
- Connect your iOS device to the computer using a USB cable.
- Once connected, your iOS device will appear in iTunes.
- Click on the small phone icon next to the Apple Music content options menu.
- In the device's Settings view in iTunes, navigate to the Music tab in the side menu.
- Check "Sync Music" and its additional options, then click the "Apply" button at the bottom to sync the entire music library with the updated album artwork.
1.2 Using ViWizard Apple Music Converter:
In iTunes, altering album artwork involves a permanent replacement, a change that cannot be undone and lasts until the new album or song is deleted, necessitating the re-addition of the old one. This process not only carries the risk of losing your music library on your device but also faces limitations imposed by Apple Music from the outset.
Is there a method that allows for flexibility, ensuring mistakes can be rectified easily? Indeed, there is. Enter ViWizard Apple Music Converter, a powerful Apple Music converter that not only facilitates album artwork changes but also serves as a comprehensive solution for managing your music library.
Things You'll Need: ViWizard Apple Music Converter
ViWizard Apple Music Converter stands out as a professional Apple Music converter, equipped with a free, edit-supported tier. Its capabilities extend beyond mere album art adjustments, offering powerful features such as downloading songs from Apple Music, removing DRM, and converting them into various common formats, including MP3, AAC, WAV, FLAC, and M4B. What sets ViWizard apart is its ability to seamlessly change album artwork for Apple Music songs as well.
Key Features of ViWizard Apple Music Converter
Free Trial Free Trial* Security verified. 5, 481,347 people have downloaded it.
- Convert Apple Music songs, albums, playlists, and artists into MP3 for easy access
- Preserve lossless audio, high-resolution lossless, and Dolby Atmos quality
- Strip DRM from Apple Music for unrestricted offline listening
- Save converted audio files while retaining full ID3 tag details
Change Apple Music Album Art on Computers with ViWizard:
Step 1Download and Install ViWizard
Download the supported version of ViWizard Audio Converter for Windows or Mac and install it on your computer. Ensure that iTunes is also installed on your PC.
Step 2Upload Apple Music Songs to ViWizard
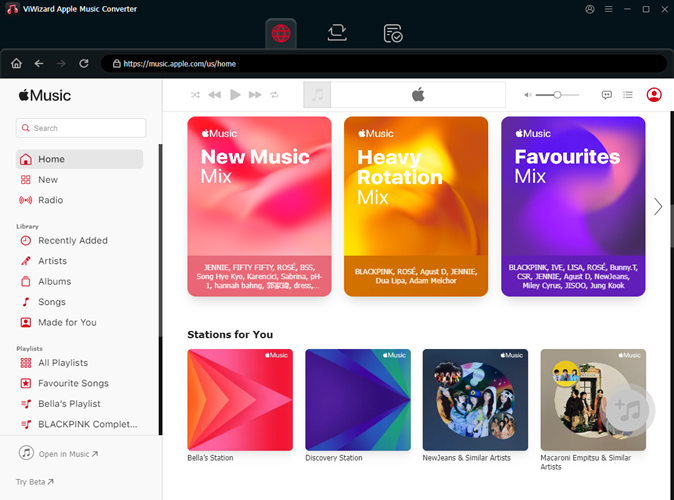
Launch ViWizard Audio Converter and ensure iTunes is running. Click the "Load iTunes Library" button (add music icon) to import songs from your iTunes Library. You can also drag and drop songs or albums directly into ViWizard.
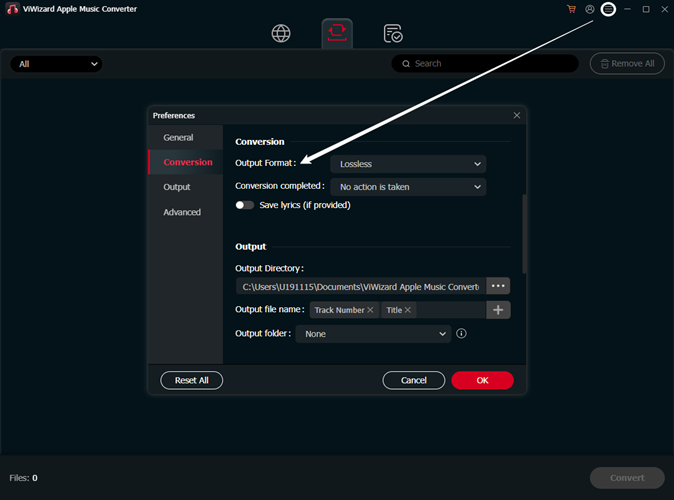
Tips: If DRM removal or file format conversion is needed, click on the "Format" at the bottom of ViWizard's main interface to open the Format Setting window. Choose your preferred output format and parameters, then click "OK" to save the settings.
Step 3Change Album Art of Songs
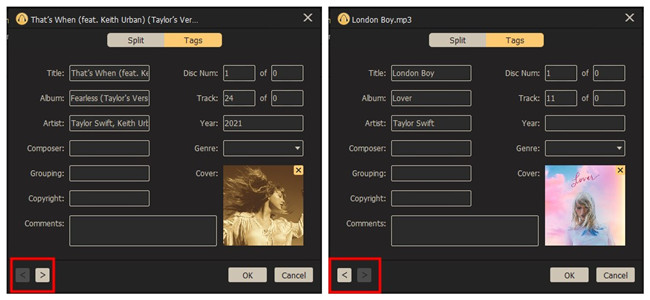
Locate and click the "Edit" button to open the edit window for the selected song. To change the album art, click on the "Tags" column. Navigate to the "Cover" image and select the new album art from your local folder. Click "Open" to replace the cover, then click "OK" to save the changes.
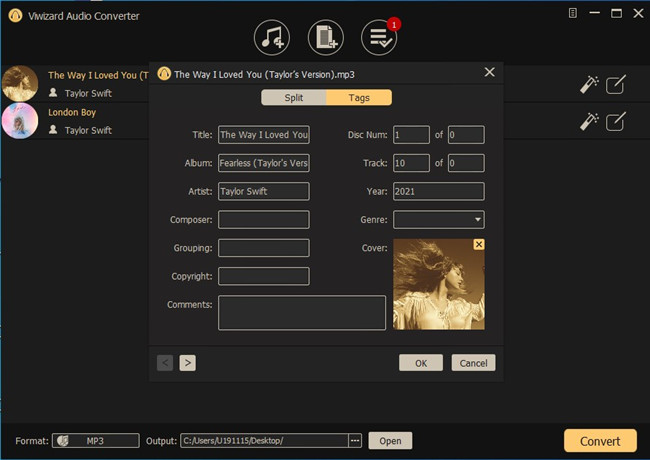
Tips: To change album art for multiple items, use the forward button to navigate to the next song's edit view and repeat the steps.
Step 4Convert and Download Apple Music
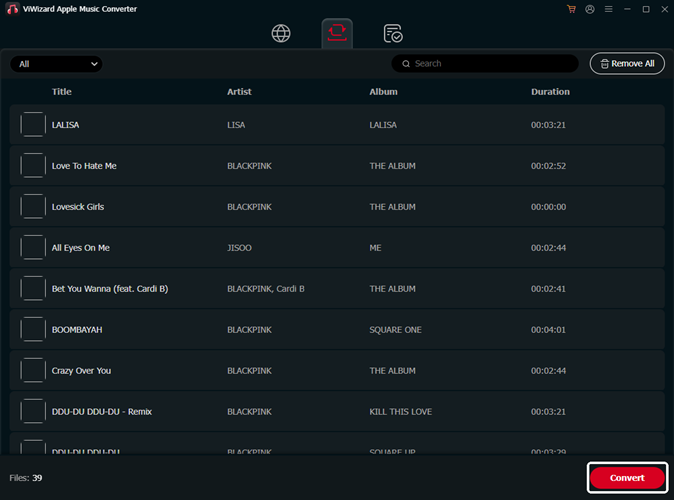
Click the "Convert" button to download and convert all the songs with the updated album art at a 5x speed. While the new album art might not immediately show next to the song titles, rest assured that the change has been saved if the Cover displays the new image in the Edit window.
Tips: Consider organizing the songs for later upload to iTunes by selecting a new output folder. Click the horizontal three dots icon next to the output path at the bottom.
Change Apple Music Album Art on Phone with ViWizard:
- Close ViWizard Audio Converter and open iTunes on your desktop.
- Navigate to the downloaded songs with changed album art and either drag and drop them into iTunes or click "File" at the top and select "Add Folder to Library…" for multiple items or "Add File to Library…" for individual songs.
- Identify duplicate songs with different album arts, right-click each song or album, and select "Song Info" or "Album Info."
- Right-click on a song or album with the old album art, and select "Delete from Library."
Note: To see the updated album artworks, delete the songs or albums with the unchanged album art from the Library and keep the new ones.
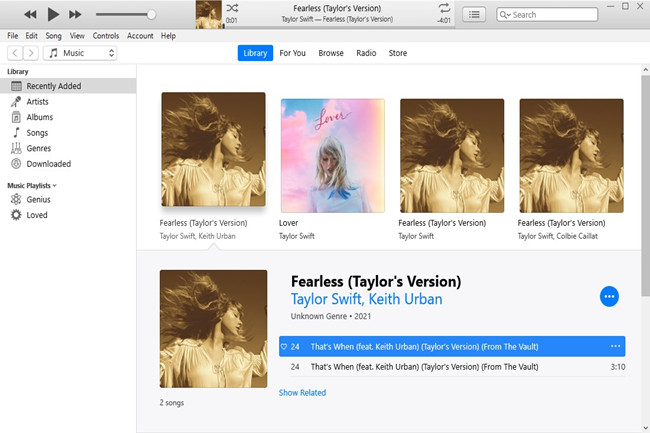
Note: If iTunes still doesn't show the new album art, close and reopen iTunes.
Repeat the process to sync the entire library to your iPhone's Apple Music Library. On your iPhone, the change of album arts on Apple Music will reflect seamlessly.
Part 2. How to Change Apple Music Playlist Artwork
If you prefer changing the artwork for your Apple Music playlists, follow these steps to add a personal touch to your music collection.
Change Apple Music Playlist Art on Computers:
-
For Windows PC:
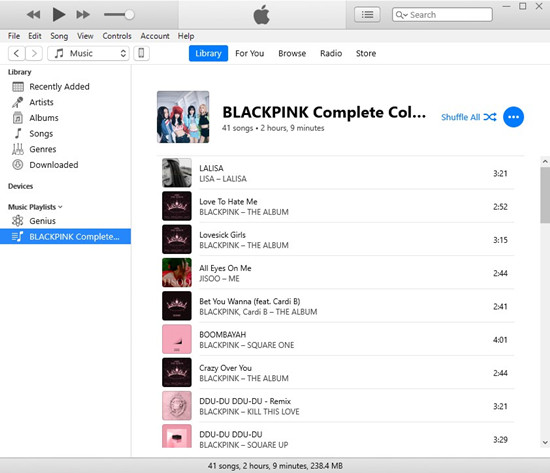
- Open the iTunes app on your desktop.
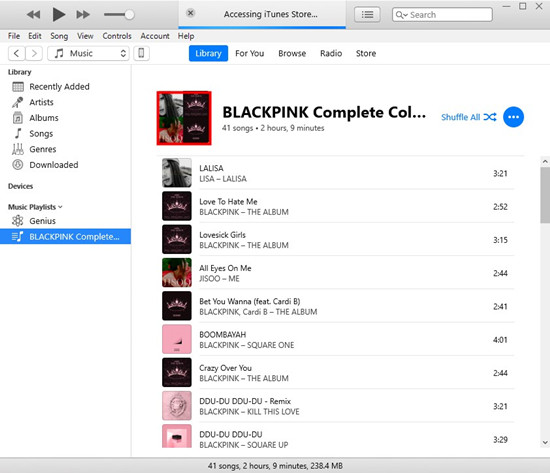
- In the sidebar, locate and select the playlist for which you want to change the artwork.
- Click the playlist profile, then choose an image file or select an item from your photo library.
- Once you're satisfied with the new artwork, confirm your choice by clicking the "Open" button.
-
For Mac:
- Open the Music app on your Mac.
- In the sidebar, select the playlist you want to customize.
- Click the "Edit" button (or click the "More" button, then choose "Edit").
- Click the "Add" button and choose an image file or select an item from your photo library. Alternatively, drag an image file to the artwork area.
- Select one of the cover options by clicking the "Back" button or "Forward" button to view all the choices.
- Click "Done" to save the changes.
Bottomline
Now the ViWizard Audio Converter helps to change album arts on Apple Music with whatever songs or albums, and the music files are made local. Even there's a mistake, ViWizard Audio Converter will allow to step back or to start it all over again. Give it a shot!



Leave a Comment (0)