Samsung has released the first Chromebook since 2011. Chromebooks are laptops and two-in-ones that run on Google's operating system. These web browser-centric Chrome OS devices offer a cheaper price tag and a minimalist experience compared to Windows and macOS laptops. At last, playing Apple Music on Chromebook is not easy work. People have to use complicated alternative ways, but now, everything has changed.
For those who use Apple Music, here's good news for you guys. Apple Music now has supported Chromebook. You can download the Apple Music app from Google Play Store. Then you can start to stream your Apple Music library freely. This article will show you how to get Apple Music on Chromebook in several methods.
Part 1. How to Download Apple Music to Chromebook
Apple Music, originally available on Android, is now accessible on Chromebooks via the Google Play Store. This allows Chromebook users to download the Apple Music app and enjoy their music, playlists, and albums. It's worth noting that the experience on Chromebook may differ from that on Apple devices like iPhones or iPads. Despite this, features such as the revamped Browse tab are available on both Android and Chrome OS platforms. Despite potential variations in performance, Apple Music remains a viable choice for Chromebook users within the Apple ecosystem.
How to Set Up Apple Music App on Chromebook:
- First, locate and open the Launcher on your Chromebook.
- Look for the Google Play Store icon and click on it to open.
- Inside the Google Play Store, use the search bar to type "Apple Music" and search for the app.
- Once you find the Apple Music app in the search results, click on it to open the app's page.
- Click on the "INSTALL" button to begin downloading and installing Apple Music on your Chromebook.
- After the installation is complete, locate the Apple Music app in your Chromebook's app grid.
- You can use the Search key on your keyboard or the Launcher key to quickly find the app.
- Open the Apple Music app and log in with your Apple ID credentials.
- Once logged in, you can start exploring and listening to your favorite tracks, playlists, and albums on Apple Music directly from your Chromebook.
Part 2. How to Play Apple Music on Chromebook
You can access Apple Music on your Chromebook in several ways, including the official Apple Music app, the web-based player, and using tools like ViWizard Apple Music Converter to play downloaded music files. While the Apple Music web player provides a stable and reliable way to stream music with all the basic features, those who prefer offline listening might want to consider using ViWizard Apple Music Converter to convert their Apple Music tracks to MP3.
-
Using the Apple Music App:
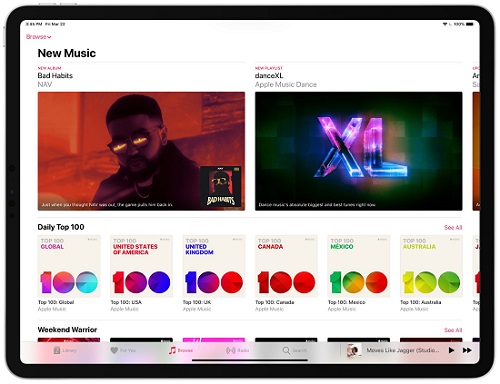
- Find the Apple Music app icon on your Chromebook's desktop or in the app menu.
- Click to open the app.
- If it's your first time, sign in with your Apple ID and password. If you're already signed in on another device, you may be logged in automatically.
- Browse through your library, playlists, and albums using the menu options.
- Use the search bar to find specific songs or artists.
- Tap on any song, album, or playlist to start listening.
- Use the playback controls within the app to manage your music.
-
Using the Web-Based Player:
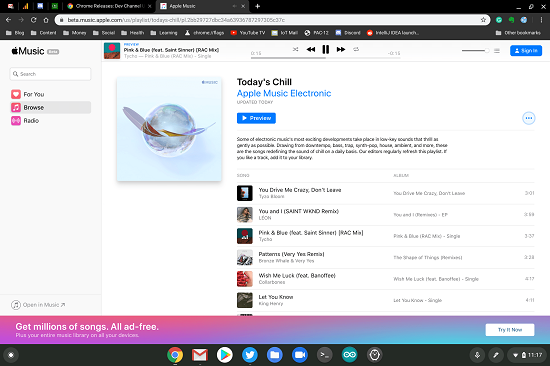
- Launch the Chrome browser on your Chromebook.
- Type "music.apple.com" in the address bar and press Enter.
- Enter your Apple ID email and password to log into your account.
- Browse through your music library, playlists, and recommendations.
- Use the search function to find specific songs or albums.
- Click on any song to start playback directly in your browser.
- Use the on-screen controls to adjust volume, skip tracks, and manage playback settings.
-
Using Your Media Player:
If you prefer to play Apple Music files stored in plain formats on your Chromebook, you can use ViWizard Apple Music Converter. This tool helps convert Apple Music songs into MP3 or other formats that can be played with any media player on your Chromebook. ViWizard Apple Music Converter allows you to convert your Apple Music tracks into plain formats that are compatible with Chromebook's media players. This enables offline playback without the need for an active Apple Music subscription.
Part 3. How to Download Apple Music Directly to Chromebook
Streaming music from Apple Music is great, but it's not always convenient, especially when you want to listen offline. Although Apple Music allows you to download songs for offline play, these downloads disappear if you stop paying the monthly fee. While buying songs from the iTunes Store in AAC format is an option, there's a more effective solution for saving and playing Apple Music on your Chromebook.
Apple Music downloads are DRM-protected, which means you can't freely transfer or play them on non-Apple devices if your subscription ends. On the other hand, Chromebooks support a variety of file formats, including MP3, WAV, and others that're compatible with most media players for a smooth and non-stop listening experience. Therefore, converting Apple Music tracks to these formats can be very beneficial.
ViWizard Apple Music Converter is designed to help you download and convert Apple Music tracks into MP3 or other compatible formats for Chromebook. This way, you can keep your music even if you cancel your subscription. The tool also supports iTunes files, iTunes audiobooks, and Audible audiobooks, allowing you to enjoy your entire music library on your Chromebook.
Key Features of ViWizard Audio Converter
Free Trial Free Trial* Security verified. 5, 481,347 people have downloaded it.
- Convert Apple Music songs, albums, playlists, and artists into MP3 for easy access
- Preserve lossless audio, high-resolution lossless, and Dolby Atmos quality
- Strip DRM from Apple Music for unrestricted offline listening
- Save converted audio files while retaining full ID3 tag details
Once downloaded and installed the ViWizard Apple Music Converter on your computer, you can follow these steps to transfer Apple Music to Chromebooks and play it freely.
Step 1Add Apple Music to ViWizard Audio Converter
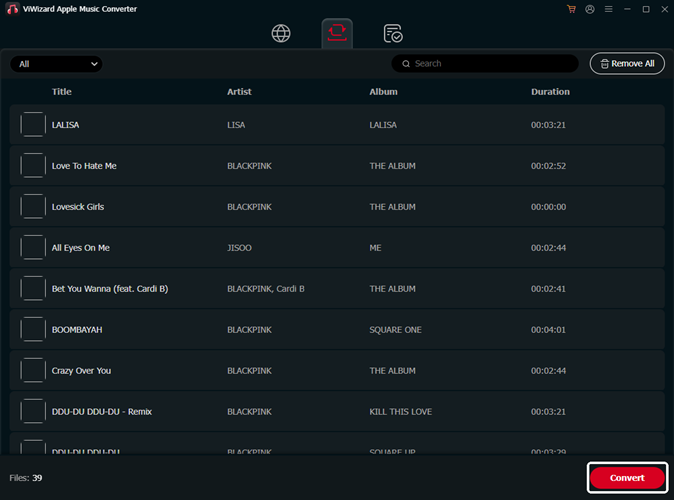
Launch ViWizard Audio Converter and click Add Files button to load the Apple Music M4P files you downloaded on your computer. You can also drag the audio files from local folder to ViWizard. You can also click the Load From Library icon to load Apple Music from your library.
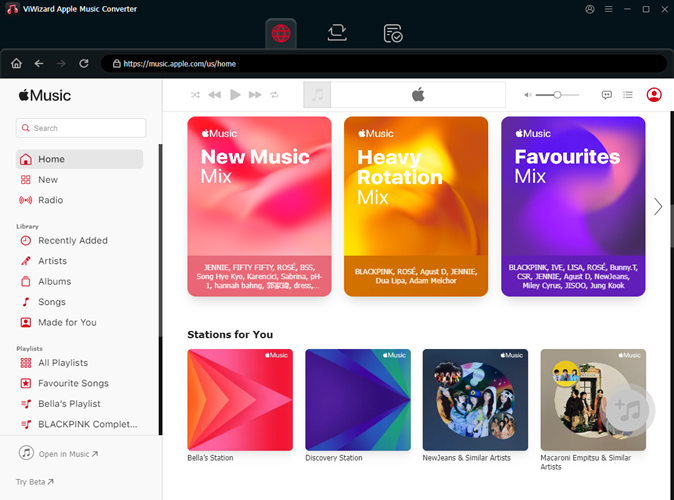
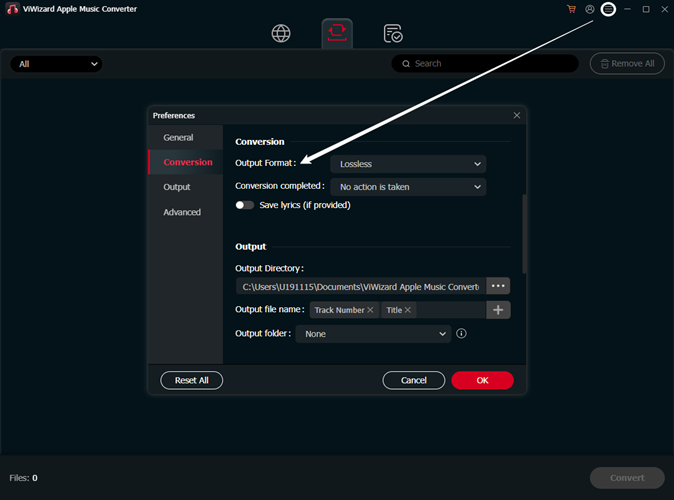
Step 2Select Output Format and Customize Audio Quality
Now move to Format panel and click the MP3 format. Then you'll be prompted with popup window asking you to select the output format. It supports MP3, M4A, AAC, FLAC, WAV and M4B formats with the current version. Choose the one you want. Before moving to the next step, you can also set audio codec, channel, sample rate, bit rate according to your own needs.
Step 3Start Removing DRM from Apple Music Songs
Click the Convert button at the bottom right and it will start to convert your Apple Music songs to MP3 or other DRM-free formats at up to 30X faster speed. Wait for a few minutes until it's completed. Once converted, you can find the unprotected songs by clicking the History icon at the top right corner.
Once you have converted your Apple Music files to a compatible format, you can transfer and play them on your Chromebook using several methods. Here are the steps for using a USB device or Google Drive:
-
Using a USB Device:
- Make sure your USB device is not encrypted.
- Plug the USB device into a USB port on your Windows computer or Mac.
- Transfer the Apple Music files into the "Music" folder on your USB device.
- Safely eject the USB device from your computer.
- Plug the USB device into a USB port on your Chromebook.
- Sign in to your Chromebook.
- In the corner of your screen, select the Launcher.
- Open the Files app and find your music files stored on the USB drive.
- Select one or more Apple Music files and click Open.
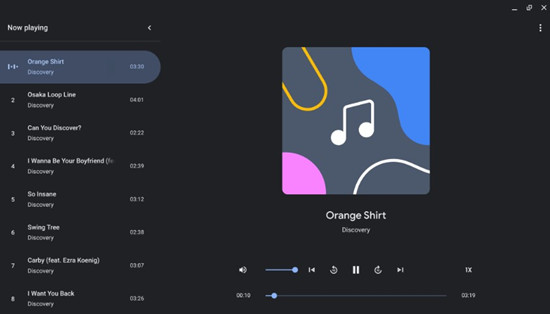
- The music files will appear as a playlist in the Gallery app, and you can start playing them.
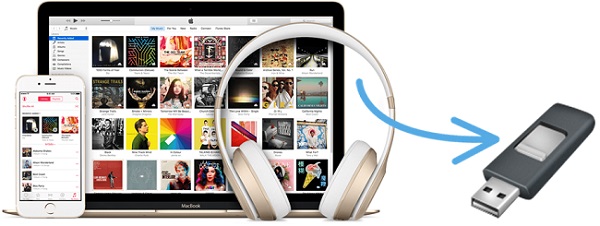 Best 3 Ways to Copy Apple Music to USB Drive
This is a guide to transfer Apple Music to USB flash drive by converting Apple Music to MP3 with ViWizard Apple Music Converter so that you can play Apple Music on the car radio or elsewhere freely.
-
Using Google Drive:
- On your computer, open a web browser and go to Google Drive.
- Click "Go to Drive" and log in with your Google account.
- Click on the "NEW" button on the left side of the screen.
- Select "File upload" or "Folder upload," depending on your preference.
- In the pop-up window, select your Apple Music files or folders and upload them to your Google Drive.
- On your Chromebook, open the Launcher and navigate to the Google Drive app.
- Sign in with the same Google account used to upload the files.
- Locate the Apple Music files in your Google Drive.
- Select the files you want to play.
- Click on a file to open and play it directly in the browser or with a media player that supports the file format.
 How to Upload Apple Music/iTunes to Google Drive
Is it as comfortable to transfer music contents between Apple Music and Google Drive? This post will tells both the methods to upload Apple Music to Google Drive or download music from Google Drive to Apple Music.
Summary
Now you may know how to get Apple Music on Chromebook. We have explored three ways for you, and you can choose the suitable way as your need. If you want to play Apple Music offline after the subscription, ViWizard Audio Converter will be your best choice. It can convert Apple Music-protected files into an open format without much effort. Just click the download button below to have a try now!

Leave a Comment (0)